Documentation
Step-by-step guides for every feature in Forever Planner. Pick a section from the menu or scroll through.
Getting started
Create your account, tell us a little about your wedding, and invite your partner.
- 1
Create your account
Click "Get started free" and sign up with your email and a password, or with Google. No card is needed.
- 2
Verify your email
Click the link in the verification email. If it hasn't arrived after a minute, check spam, or use Resend on the verify page.
- 3
Set up your wedding
Add your names and wedding date. You can then give a rough guest count and budget, which set up a UK starter checklist and budget for you, and take a short style quiz that suggests a design collection. Both are optional and can be changed later.
- 4
Invite your partner
Copy the invite link shown at the end of set-up, or later from Settings → Partner, and send it however you like. Your partner creates their own account and joins your plan with full access.
Tip
You both see changes as they happen, with no refreshing. Each of you has your own login and your own email settings.
Dashboard
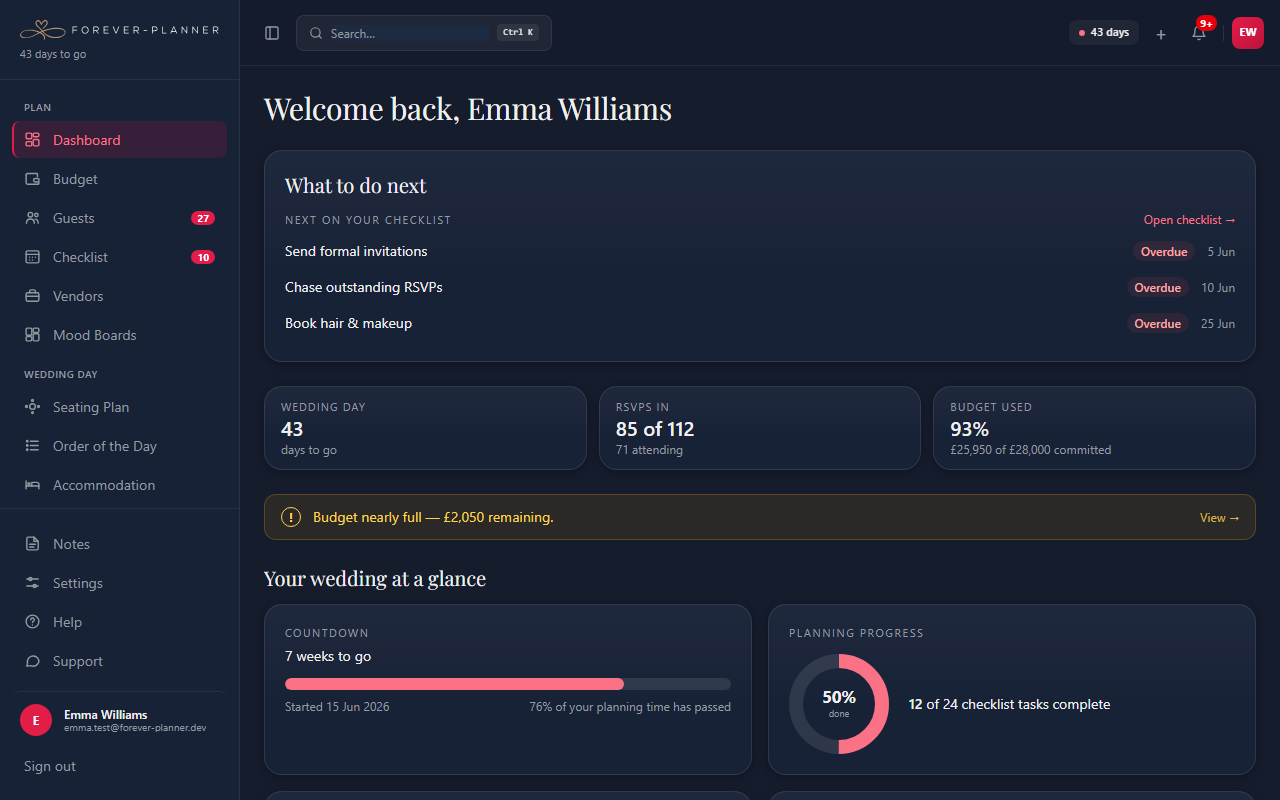
The dashboard tells you what to do next and how the whole wedding is going.
- 1
What to do next
The top of the page lists your next checklist tasks (overdue ones first), supplier payments due in the next two weeks, and suppliers you planned to follow up with. Click any item to go straight to it.
- 2
Status strip
Days to go, how many guests have replied, and how much of your budget is committed. A tile you haven't set up yet shows what to add instead.
- 3
Your wedding at a glance
Charts for checklist progress, spending by category, RSVPs, the checklist by month, which supplier categories are booked, payments due soon, your guest mix and dietary needs. Each appears once there is something to show.
- 4
Notes and activity
Your five latest shared notes, with a box to add one, and a recent activity feed (folded away until you open it) showing what you and your partner have changed.
Budget
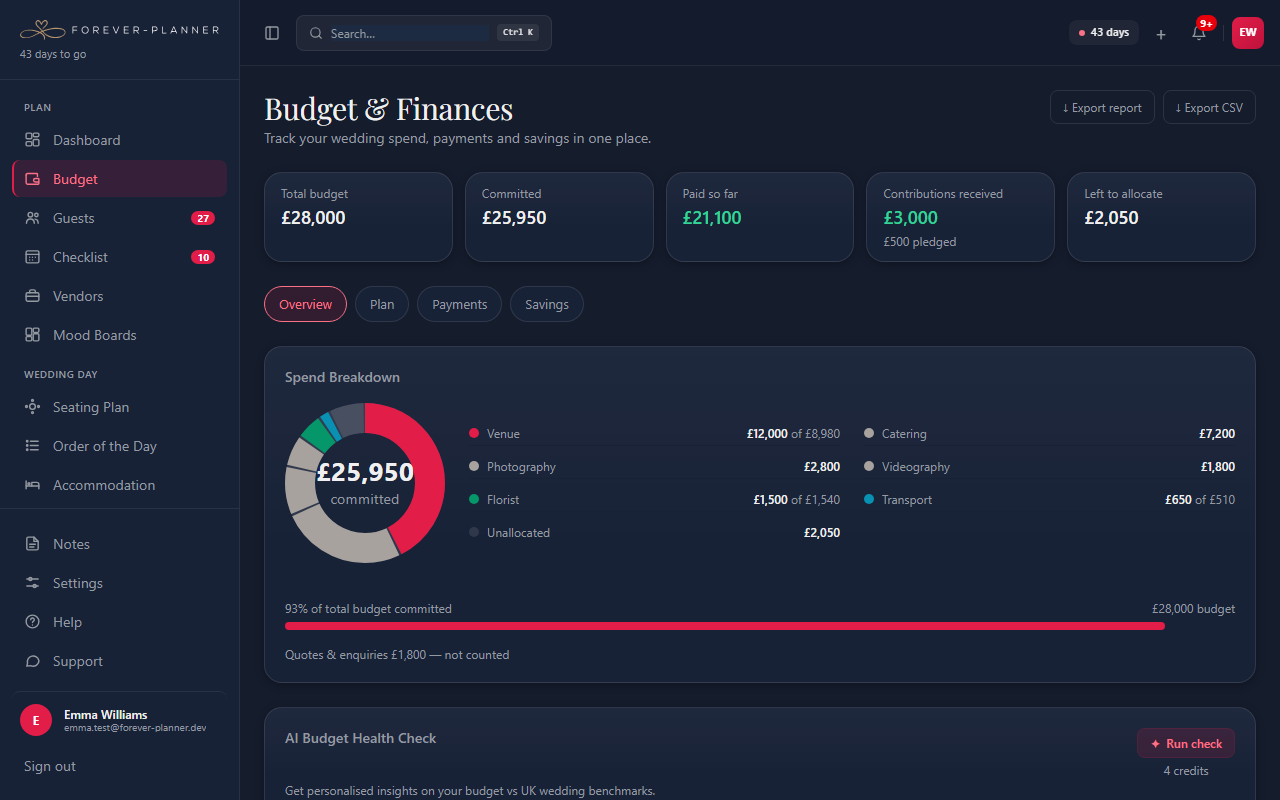
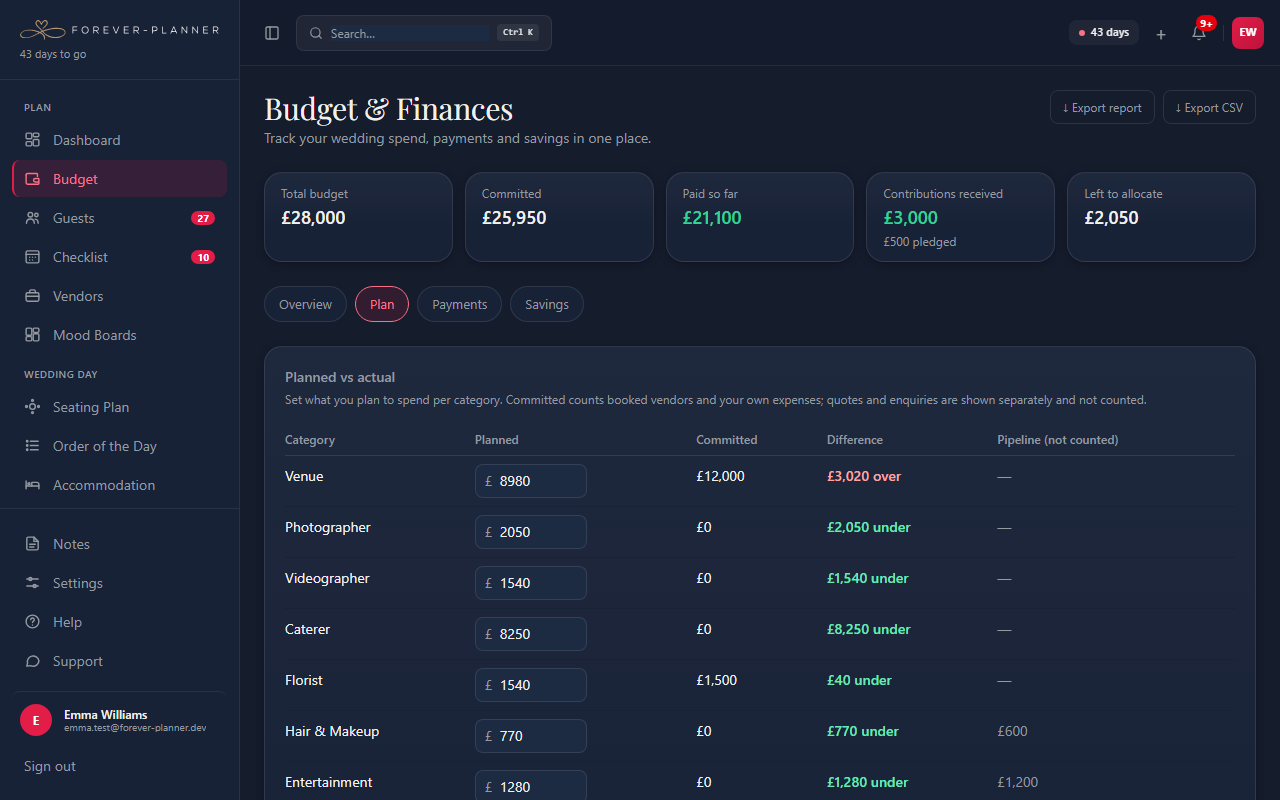
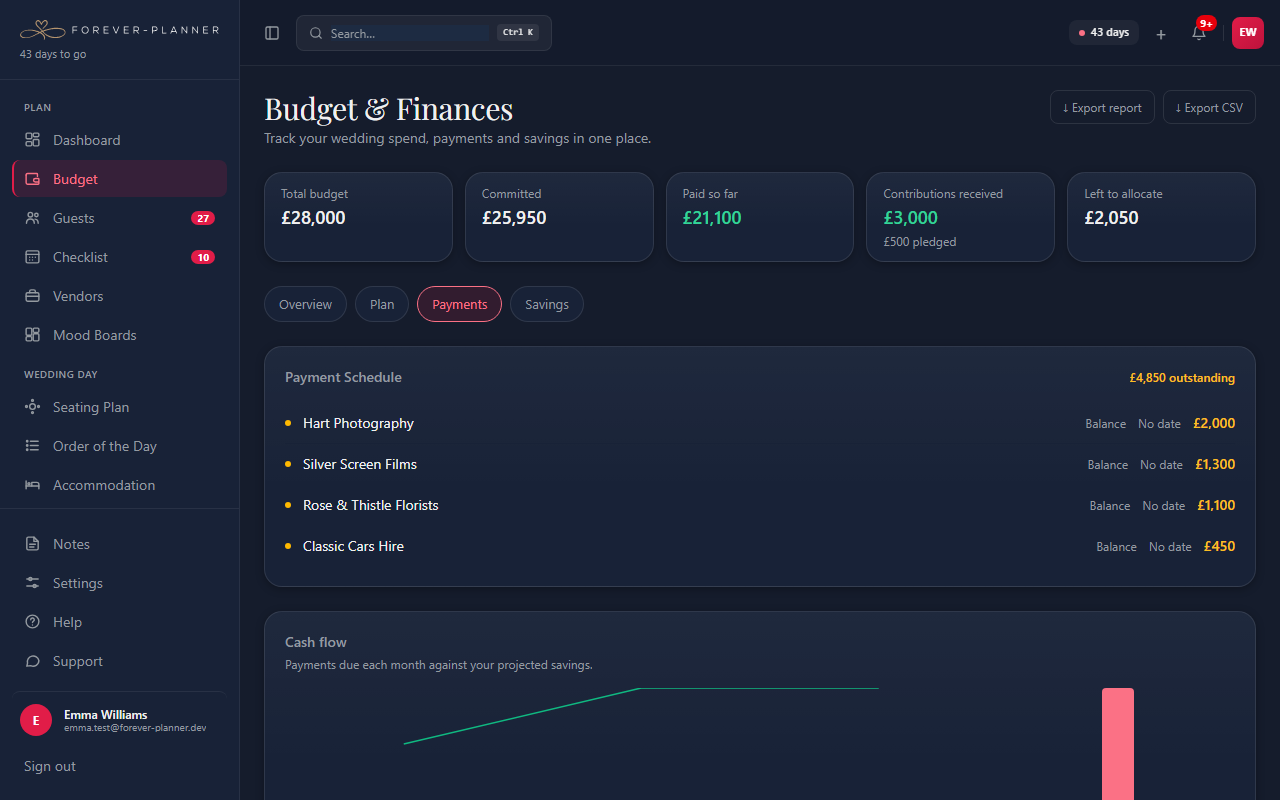
The budget has four tabs: Overview, Plan, Payments and Savings. The summary at the top is the same on every tab.
- 1
Set your total budget
On the Savings tab, choose Simple or Detailed mode and enter your total budget and savings. The summary then shows what is committed, paid and left to allocate.
- 2
Plan each category
On the Plan tab, set a planned amount per category and see it against what you have committed, with "£X over" or "£X under" for each. Only booked suppliers count as committed; quotes and enquiries are shown separately and never counted.
- 3
Add costs that are not suppliers
Rings, favours or the honeymoon go under Expenses on the Plan tab, with a category and whether they are paid.
- 4
Hold back a buffer
Add a contingency buffer on the Plan tab (most couples hold back 5-10%). It shows how much of the buffer is left as costs come in.
- 5
Payments and contributions
The Payments tab lists every payment due, soonest first, with overdue ones marked, and a cash-flow chart of payments each month against your projected savings. Record money family have given or promised under Contributions; only money received counts towards your savings.
- 6
Typical UK prices and reports
The Overview tab compares your spend with typical UK prices for each category (catering scales with your guest count). Export the full budget as a printable report or a spreadsheet.
Paid plans
The AI budget health check is on Essential and Premium. It looks at your plan, payments and contributions and suggests what to watch.
Vendors
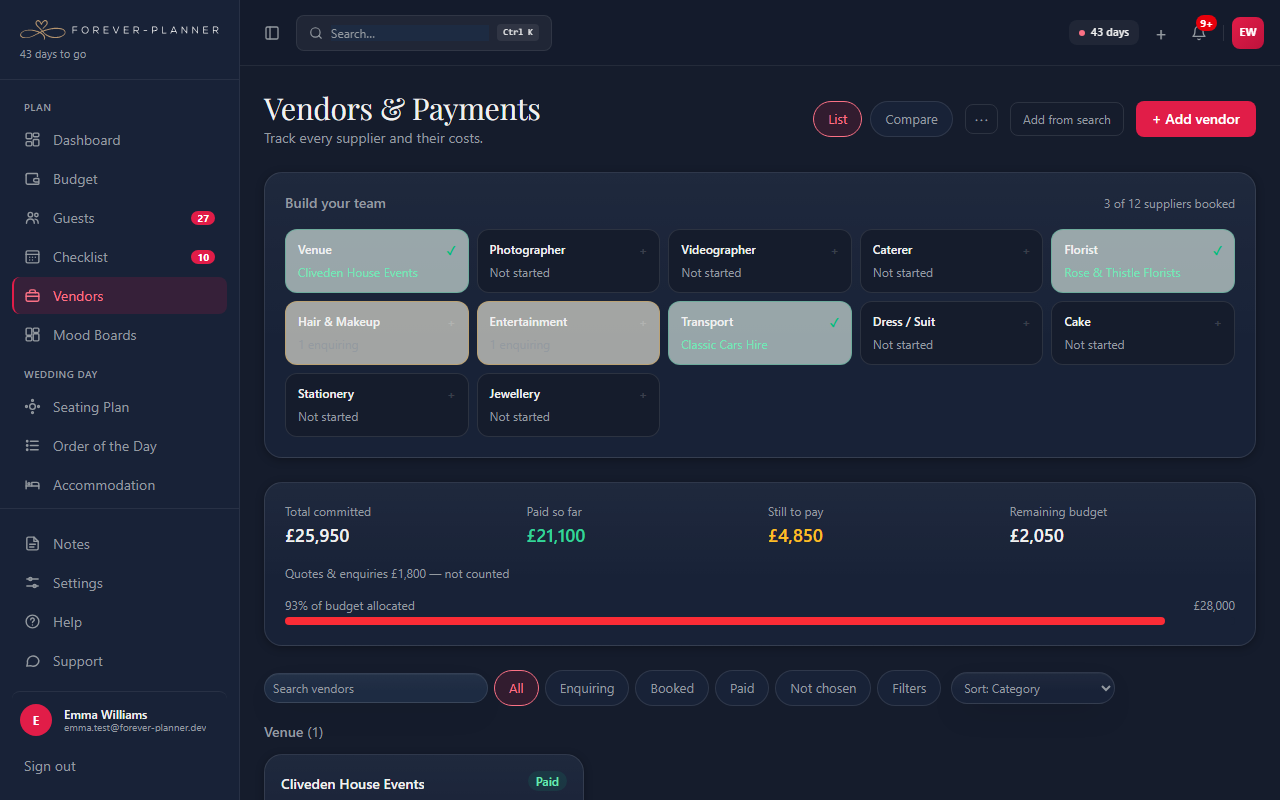
Track every supplier from first enquiry to final payment.
- 1
Add a supplier
Click "+ Add vendor" and add their name, category, contact details, cost and status, or click "Add from search" to find local suppliers and add one in a click.
- 2
Follow an enquiry
While a supplier is Enquiring, record the stage (contacted, quote received, meeting booked), the quote and when it expires, and a follow-up date. Follow-ups due soon appear on your dashboard.
- 3
Compare and book
The Compare tab shows enquiries for the same category side by side. Click "Book this one" on your choice, and you can mark the others as Not chosen, which takes them out of your budget figures.
- 4
Payments and documents
Add each payment (deposit, instalments, balance) with its due date and tick it off when paid. Upload contracts, invoices or quotes to the supplier.
- 5
Find, export and share
Sort, group, filter and search the list. Export your supplier book to print or as a spreadsheet, or share a read-only link listing your booked suppliers (never costs, payments, documents or notes).
Note
The Free plan includes up to 10 suppliers and 3 documents in total. Suppliers marked Not chosen still count, so delete ones you don't need. Essential and Premium have no limits.
Paid plans
AI vendor email drafts are on Essential and Premium. AI contract analysis is on Premium.
Guests & RSVP
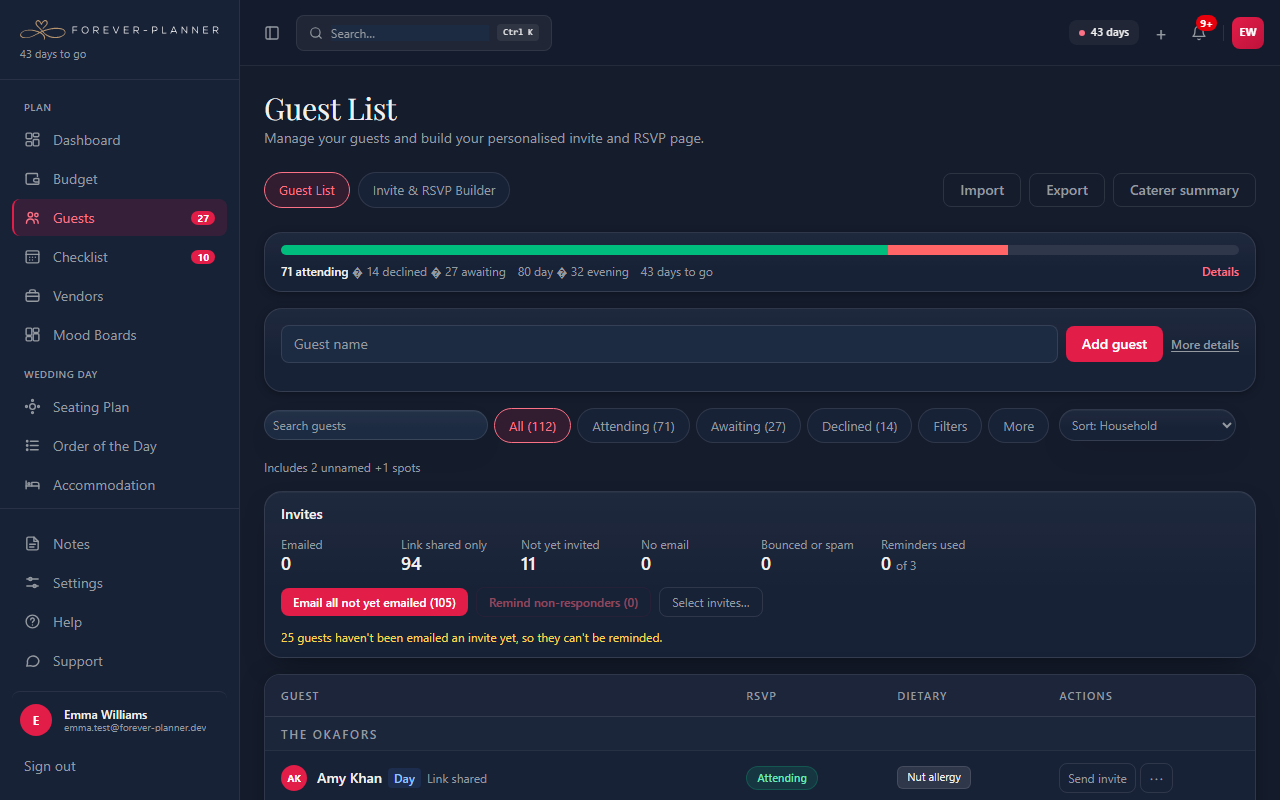
Build your guest list, send invites and follow every reply.
- 1
Add or import guests
Type a name and press Enter to add a guest, with more details one click away. To bring in a list, click Import and upload a CSV or paste names; you see a preview, with problems and likely duplicates flagged, before anything is saved.
- 2
Invites and +1s
Guests who share one RSVP link are an invite, such as a couple or a family. Set how many extra guests an invite may bring; guests name them when they reply. Choose who is the main guest on the invite, who receives the email.
- 3
Send invites
Send one invite, or every invite not yet emailed, from the Invites panel. Each email is styled to your design collection and sent from your names, so replies come straight to you. You can always copy a guest's RSVP link instead.
- 4
Search, filter and change many at once
Search by name, email or household, filter by RSVP, type, invite status, dietary needs and more, then select invites to change their RSVP, type, household or side together, or delete them.
- 5
Addresses, exports and the caterer
Collect postal addresses (you can require one when guests reply), download address labels, export the guest list to print or as a spreadsheet, and send the caterer summary of dietary needs.
- 6
Problems with an email
If an email bounces or is marked as spam, the guest is flagged and sending stops. Correct the address and sending works again.
Note
The Free plan includes up to 65 guests and 50 emailed invites. Copying RSVP links is unlimited on every plan.
Paid plans
On Essential and Premium, guests who have not replied get up to three reminders timed from your RSVP deadline, and you can send a reminder yourself at any time. Every reminder has a link guests can use to stop them.
Gifts & thank-yous
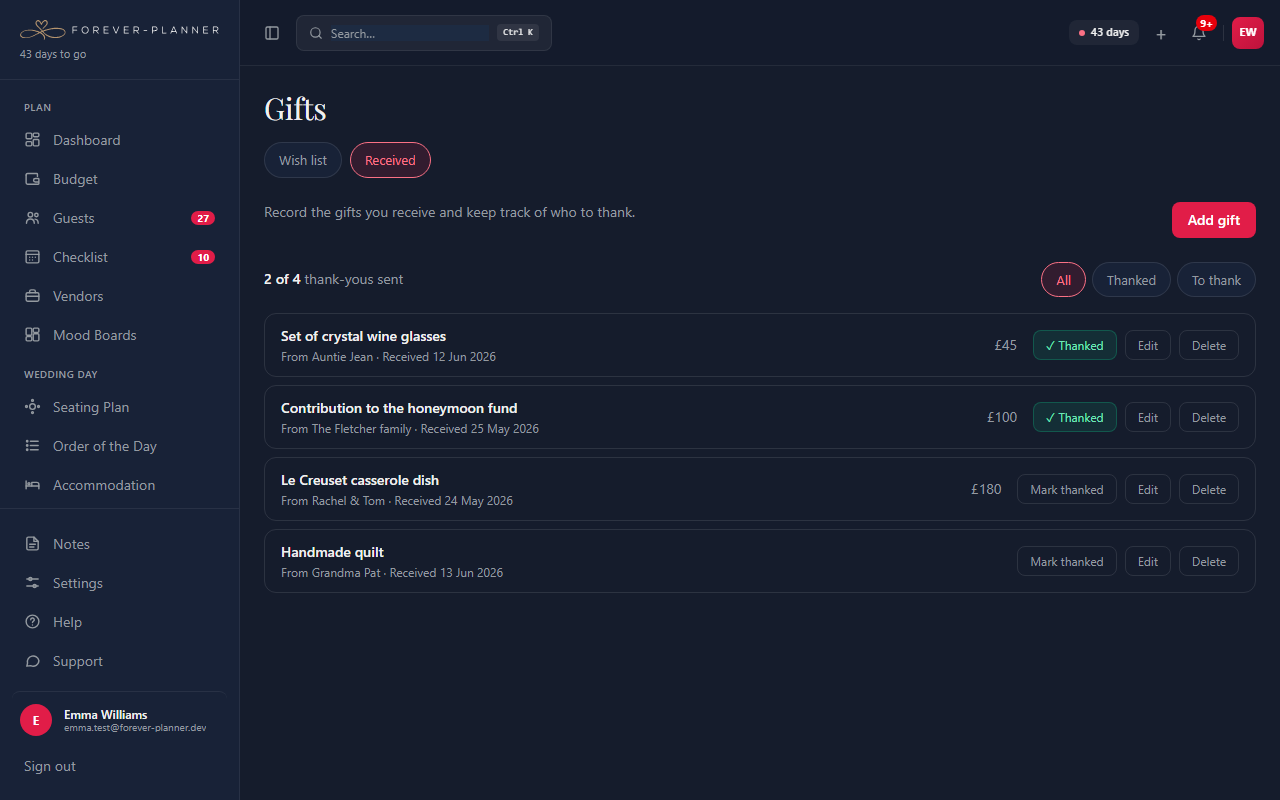
The Received tab of the Gifts page is your record of what arrived and who to thank.
- 1
Log a gift
Click Add gift, choose the guest it came from (or type a name), and add what it was.
- 2
Track thank-you cards
Tick a gift when the card is sent. The page shows how many are done and filters to the ones still to thank.
Wish list
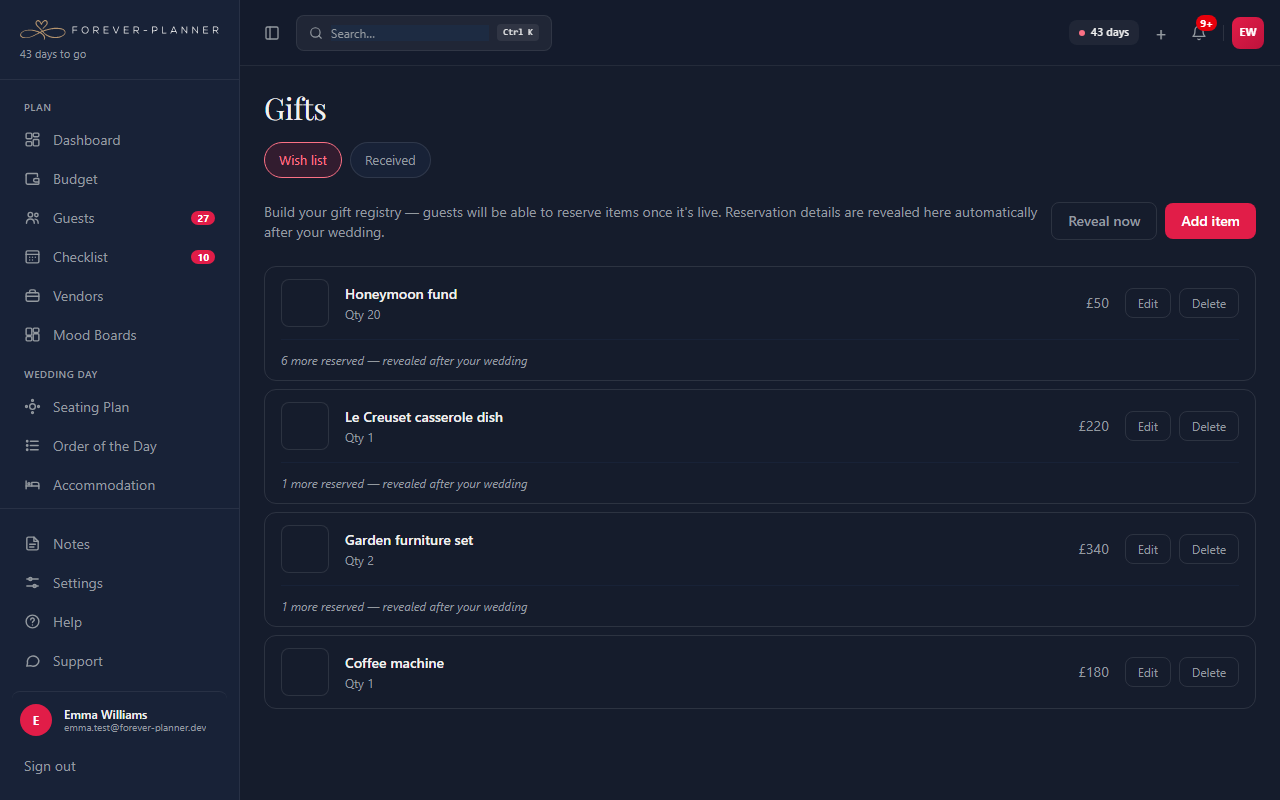
The Wish list tab of the Gifts page holds items guests can reserve from your website.
- 1
Add items
Add an item with a photo, price, link and how many you would like. To point guests at a list elsewhere, add a link-only item.
- 2
Show it on your website
Add a Wish list section in the website builder. Guests reserve items without an account, and each item shows how many are left so nobody doubles up.
- 3
See who reserved what
Who reserved each item, and their message, is revealed to you automatically after your wedding date, or earlier with "Reveal now". Reservations also appear on the Received tab, ready for thank-yous.
Note
You are not notified as each reservation comes in; the reveal keeps gifts a surprise.
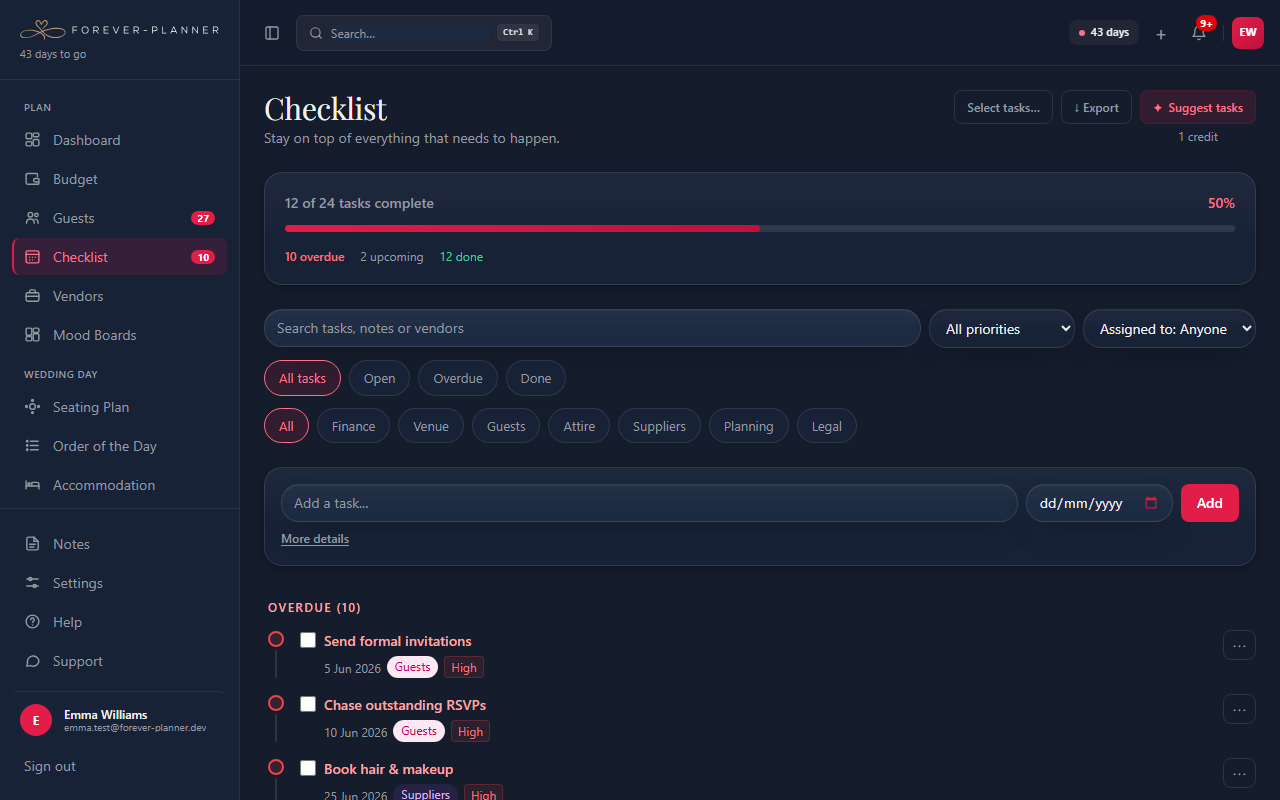
Checklist
A UK wedding checklist, dated from your wedding day.
- 1
Start from the starter list
Around 30 UK tasks are added for you, each dated from your wedding date. If the date moves, "Update dates" moves the starter tasks you haven't changed.
- 2
Legal tasks where you marry
Choose England and Wales, Scotland or Northern Ireland in Settings → Wedding details, and the notice of marriage tasks follow that nation's rules. They are guidance, not legal advice.
- 3
Add and assign tasks
Add a task with a title and date, with category, priority, notes and a linked supplier under More details. Assign tasks to either of you; ticking one off records who did it and when.
- 4
Filter, change many and export
Filter by status, priority, category or person, or search. Select tasks to mark done, move dates, set a category or priority, or delete them together. Print the checklist or download it as a spreadsheet.
Paid plans
AI checklist suggestions are on Essential and Premium.
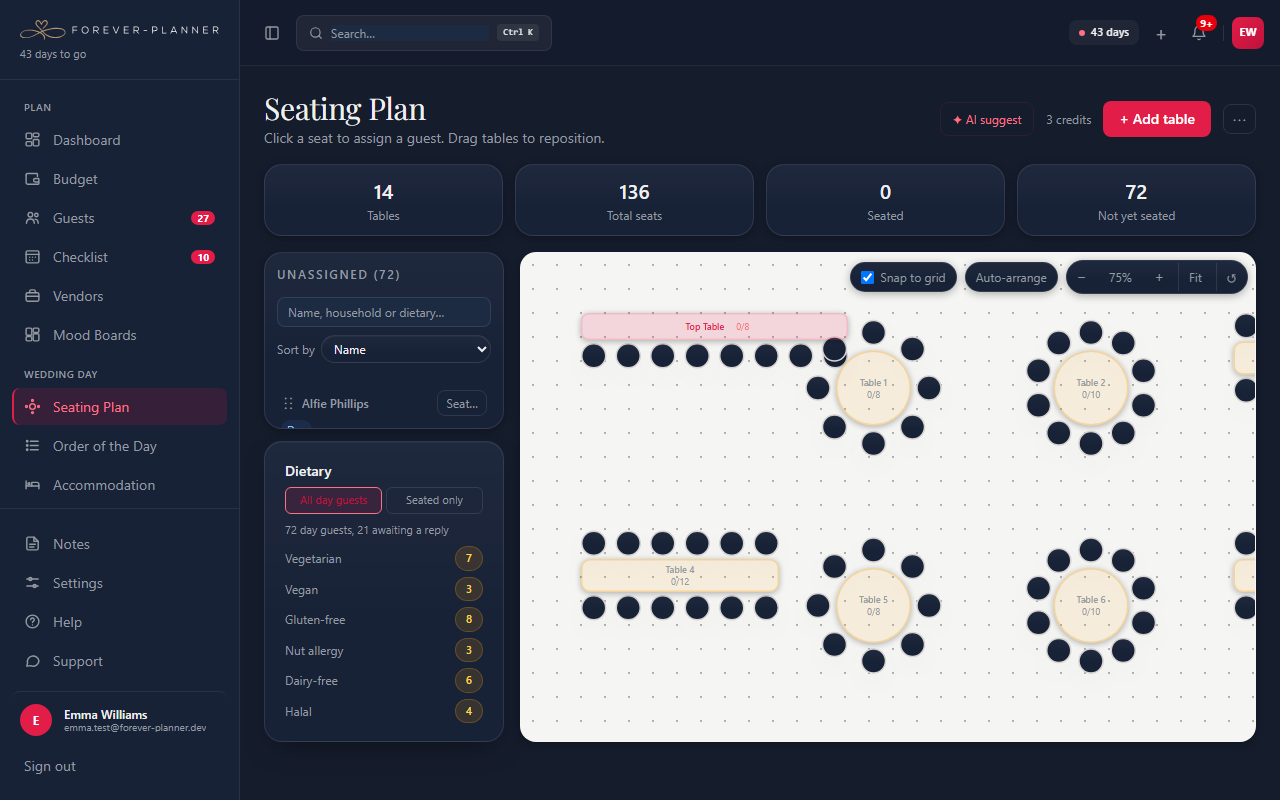
Seating plan
Lay out your tables and seat guests, one at a time or a party at once.
- 1
Add tables
Click "+ Add table" and choose round, rectangular or a top table and its number of seats. Drag tables into place, or move a selected table with the arrow keys; snap, auto-arrange and fit-to-screen are in the canvas toolbar.
- 2
Seat guests
Drag a guest from the unassigned list onto a table, or click Seat… to choose a table with room. Guests on the same invite can be seated together in one go.
- 3
Edit a table
Open a table to rename it, change its seats, and remove, move or add guests. Seats held for unnamed +1s are shown and can be released.
- 4
Keep it up to date
Seats held by guests who have declined or moved to the evening are flagged, and one button releases them. Each table shows its dietary needs.
- 5
Export
Export the plan as a PDF (with dietary needs if you like) or download it as a spreadsheet.
Paid plans
On Essential and Premium, the AI seating suggestion seats everyone, keeping parties and households together and following your seating notes. You see every change before it is applied.
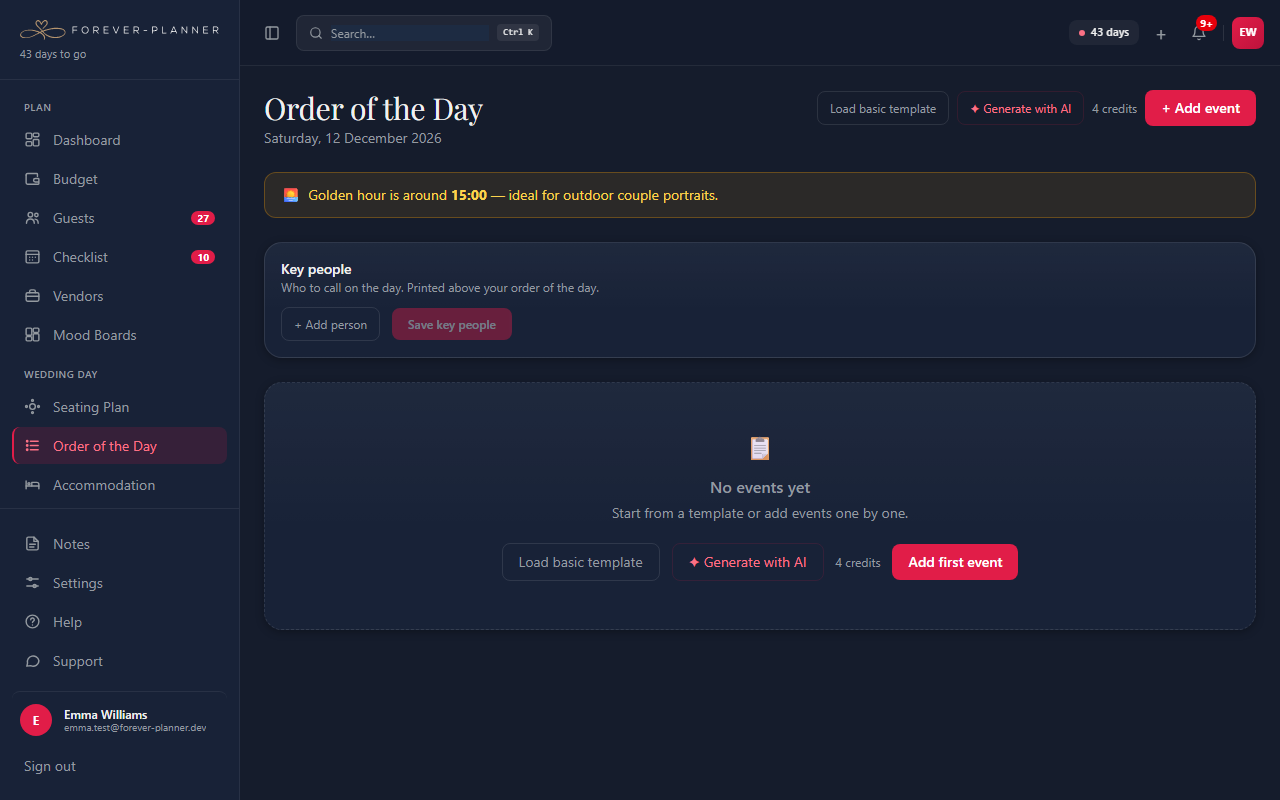
Order of the day
The running order for the wedding day, shared with everyone who needs it.
- 1
Start from the template
Use the template, which lines up with your ceremony time from Settings, or add events yourself with a time, duration, notes and a linked supplier.
- 2
Check the timings
Overlapping events and gaps of over an hour are pointed out. "Shift from here…" moves an event and everything after it by the same amount.
- 3
Add key people
Add the people to call on the day, with their role and phone number. They print at the top, and linked suppliers' phone numbers appear beside their events.
- 4
Print and share
Print it or save it as a PDF, or share a read-only link with your venue, photographer and family. Stop sharing whenever you like.
Paid plans
Generating an order of the day with AI is on Essential and Premium.
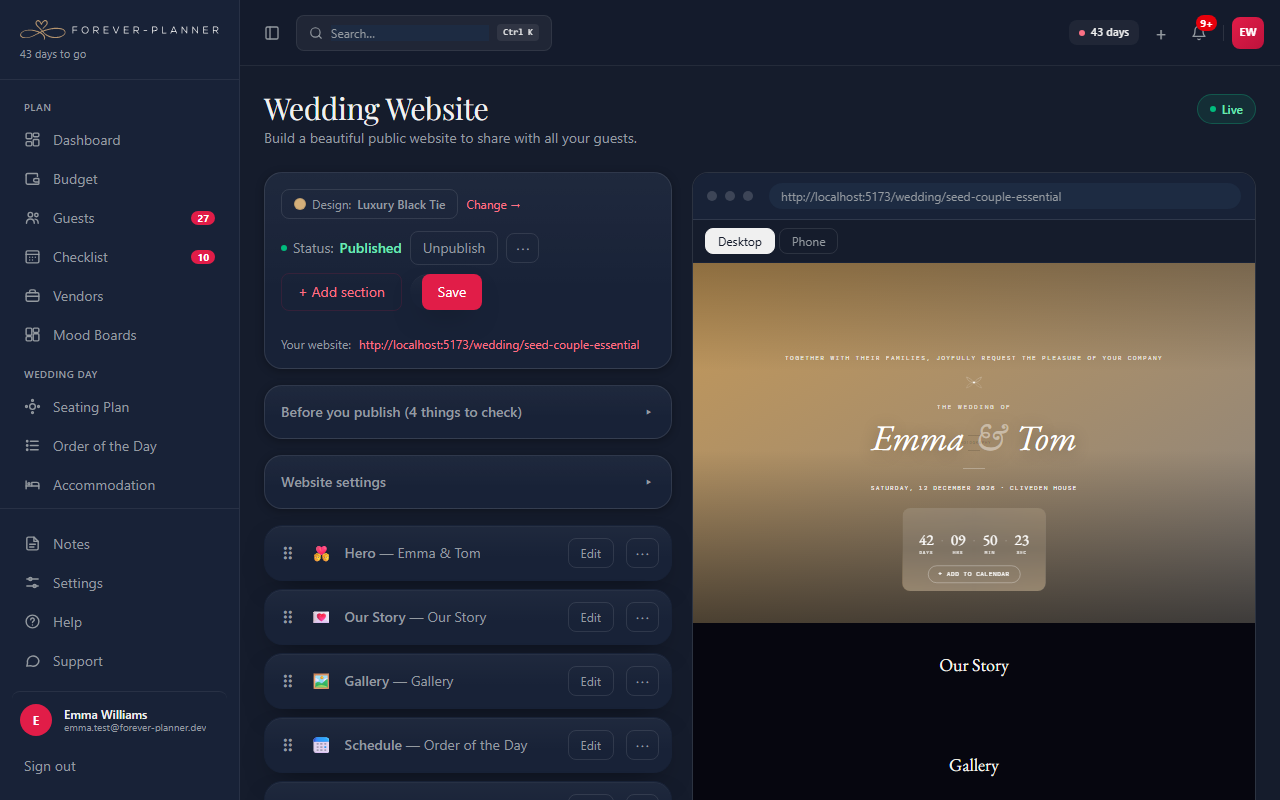
Wedding website
One link with everything guests need, in the design collection you chose.
- 1
Build it from sections
Add sections such as your story, schedule, travel, accommodation, dress code, FAQs, wish list and guest book. Reorder them, and hide any until you are ready.
- 2
Choose a design
Pick one of nine design collections in Settings → Design. Your website, RSVP page and guest emails all follow it.
- 3
Address, passcode and music
Give your site a friendly address, turn on an optional passcode so only guests can see it, and upload music for it.
- 4
Guest book
Guests can leave messages. Choose to approve each one before it appears, hide or delete any, and download them all.
- 5
Publish
Preview it on desktop and phone sizes, check the "Before you publish" list, then publish and share the link.
Paid plans
Filling the website from your details with AI is on Premium.
Welcome pack
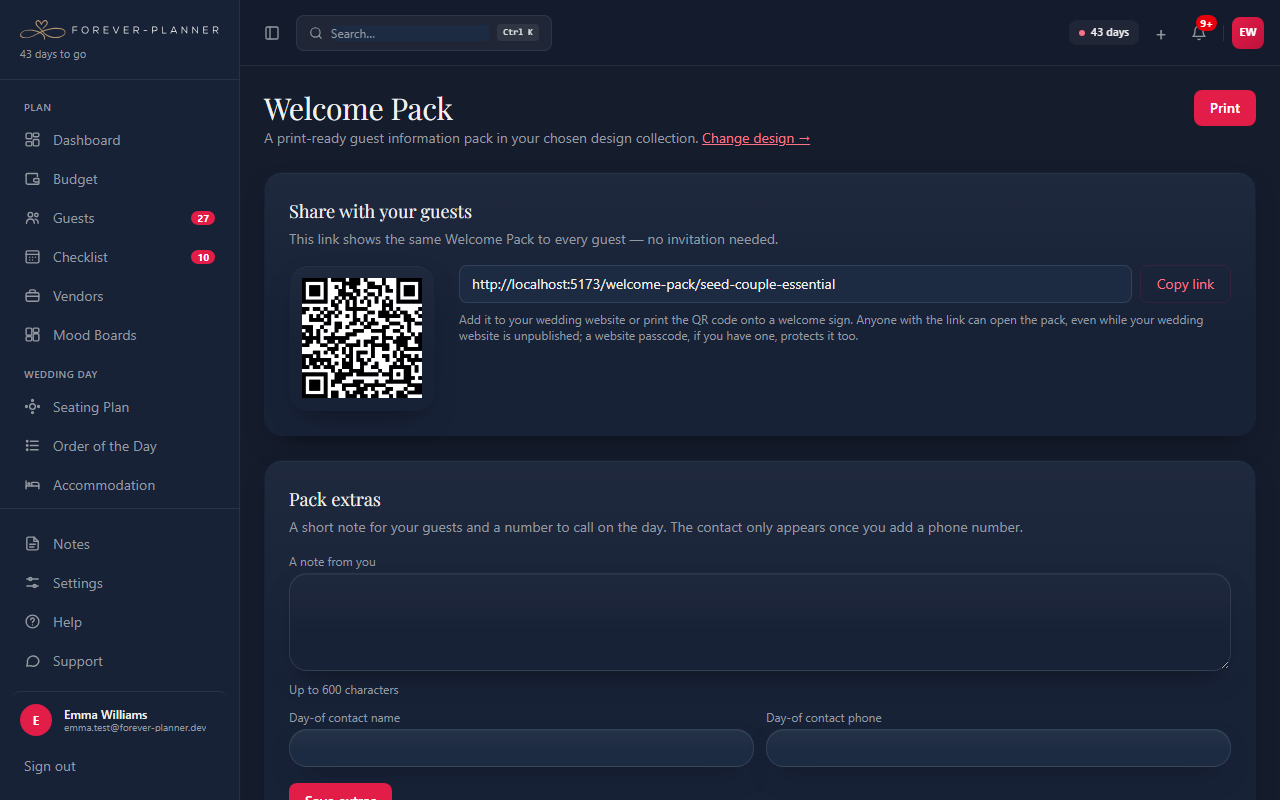
A one-page guide for guests, built from what you already entered.
- 1
What it includes
Travel, accommodation, dress code and the schedule come from your website, plus a note from you and a day-of contact number.
- 2
Share or print
Share it by link or QR code (guests need no account), or print it.
Guest photo gallery
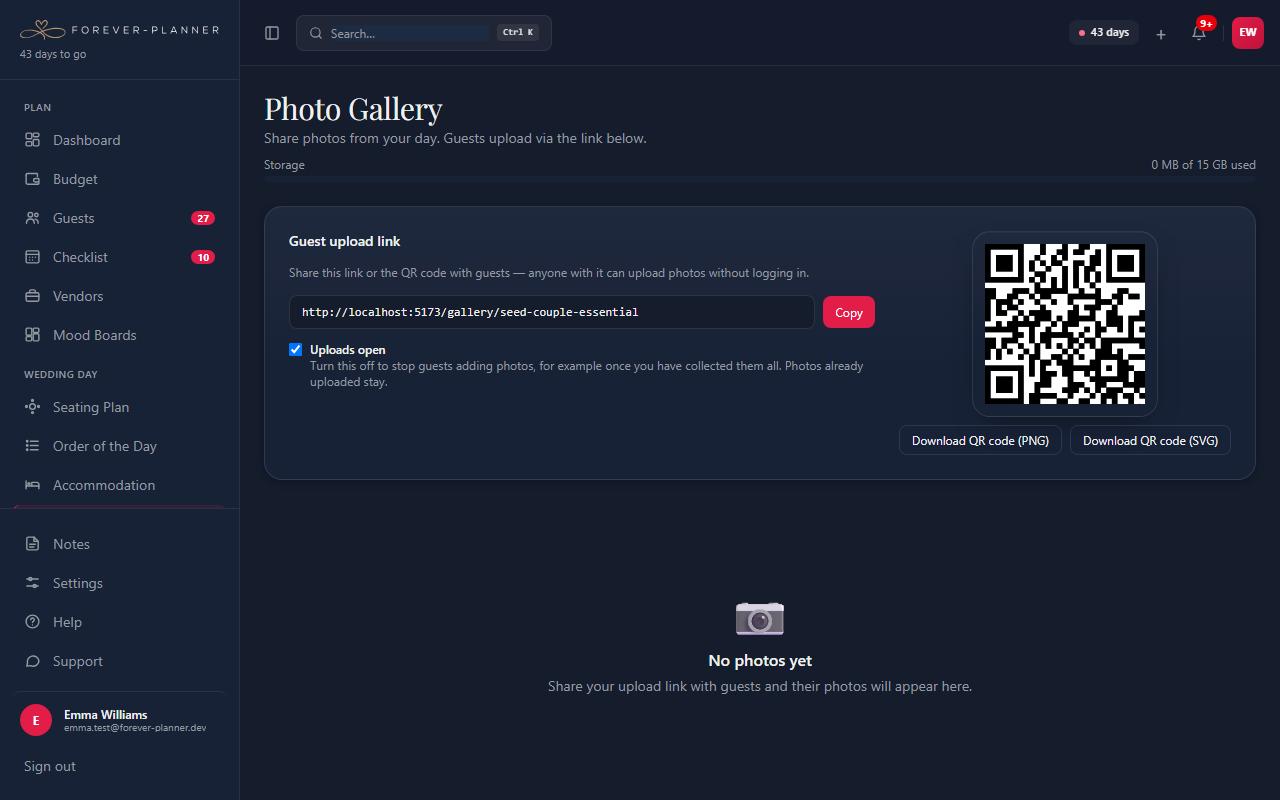
Guests upload their photos to one place, from their phones.
- 1
Share the upload link
Share the link or QR code. Guests upload several photos at once, with an optional name and caption, and need no account or app.
- 2
Look after the gallery
Hide any photo you would rather not see, or delete it. Close uploads whenever you like.
- 3
Download
Select photos to download, or download the whole gallery as a ZIP. You can also add photos to your website gallery.
Note
Photo storage is 2 GB on Free, 15 GB on Essential and 50 GB on Premium.
Mood boards
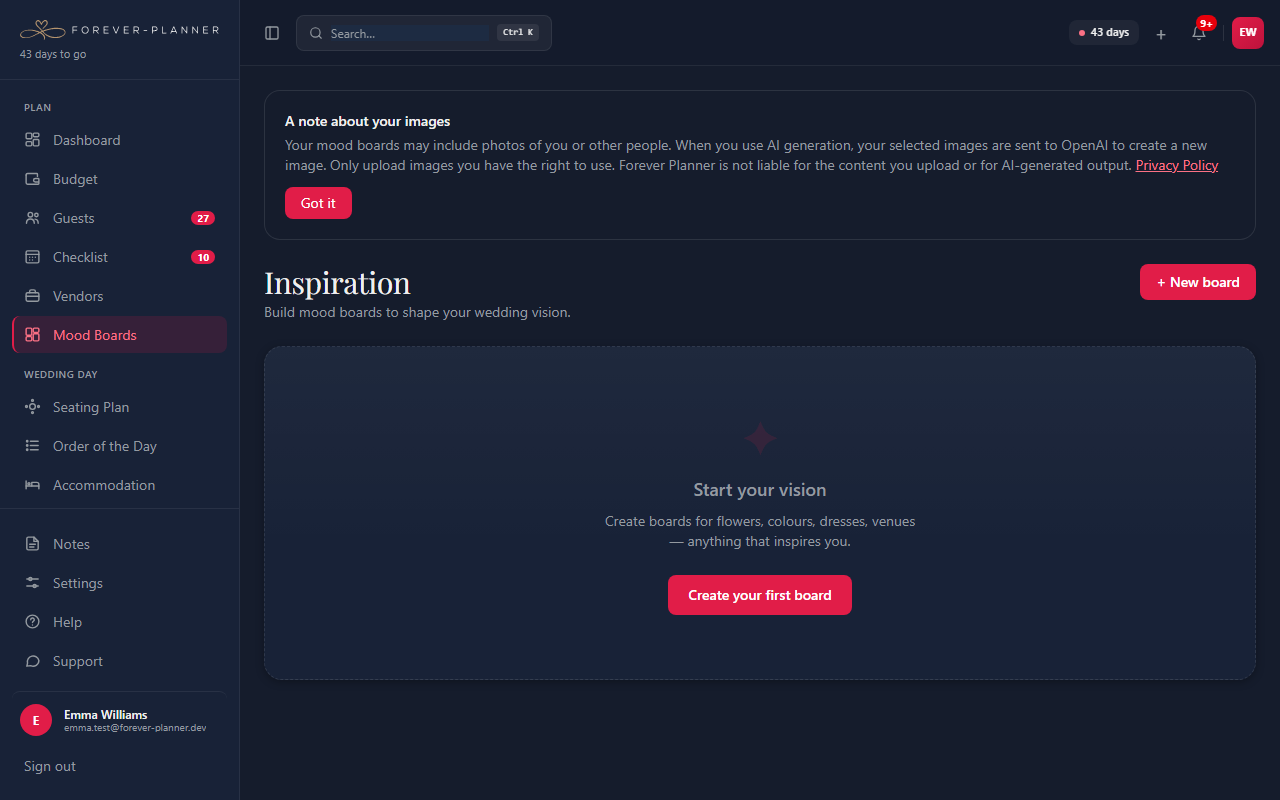
Collect your ideas and turn them into a brief for suppliers.
- 1
Build a board
Create a board and add images by upload or from a link. Reorder them, choose a cover, and add captions.
- 2
Palette and suppliers
Save a colour palette, picking colours straight from an image, and link the board to a supplier category so it shows on those suppliers.
- 3
Share or print
Share a board by read-only link or print it. Move or copy images between boards.
Paid plans
On Essential and Premium, AI can blend your references into one mood board image.
Accommodation
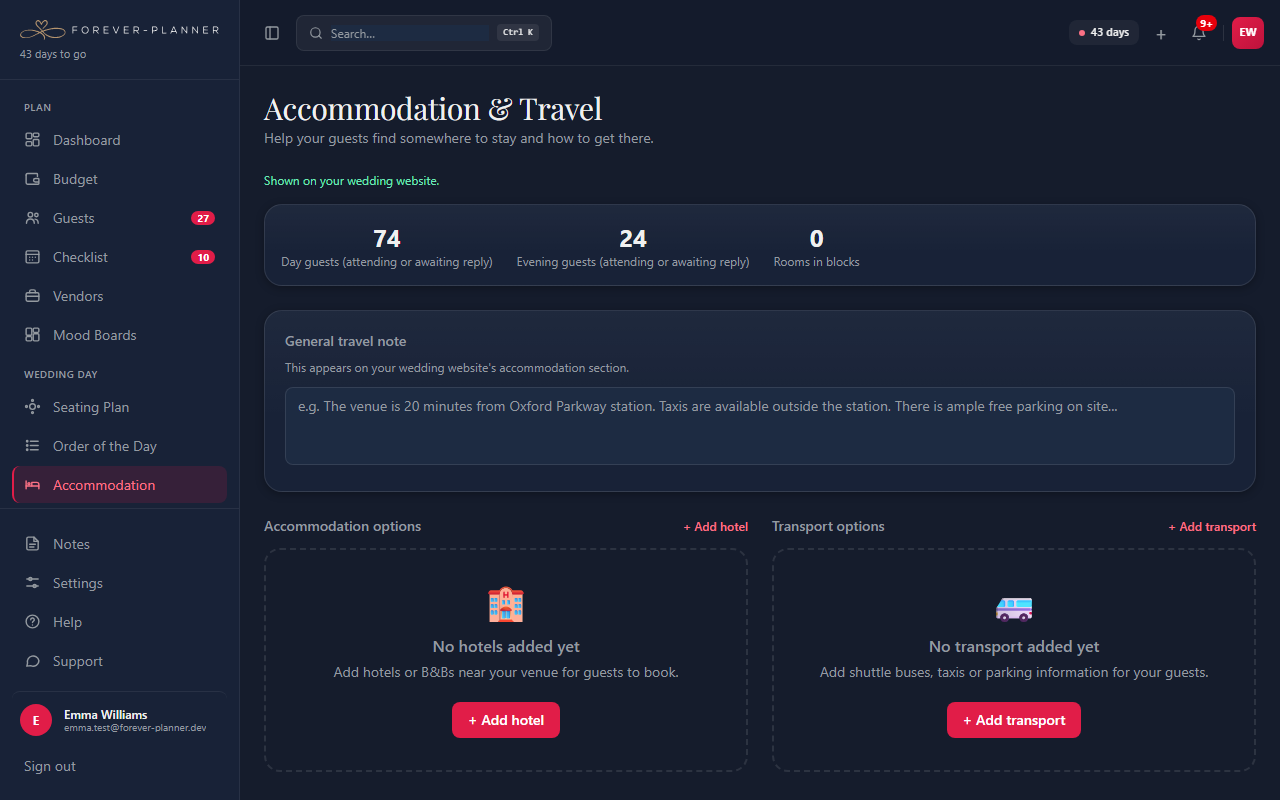
Hotels and travel for your guests, added once.
- 1
Add hotels
Add recommended hotels with room rates, a booking code and the date the room block closes. Deadlines are shown as they approach.
- 2
Add transport
Add shuttles, parking and taxi numbers, and a travel note.
- 3
Shown to guests
Everything appears on your website and welcome pack automatically. The page shows how many day and evening guests you are planning for.
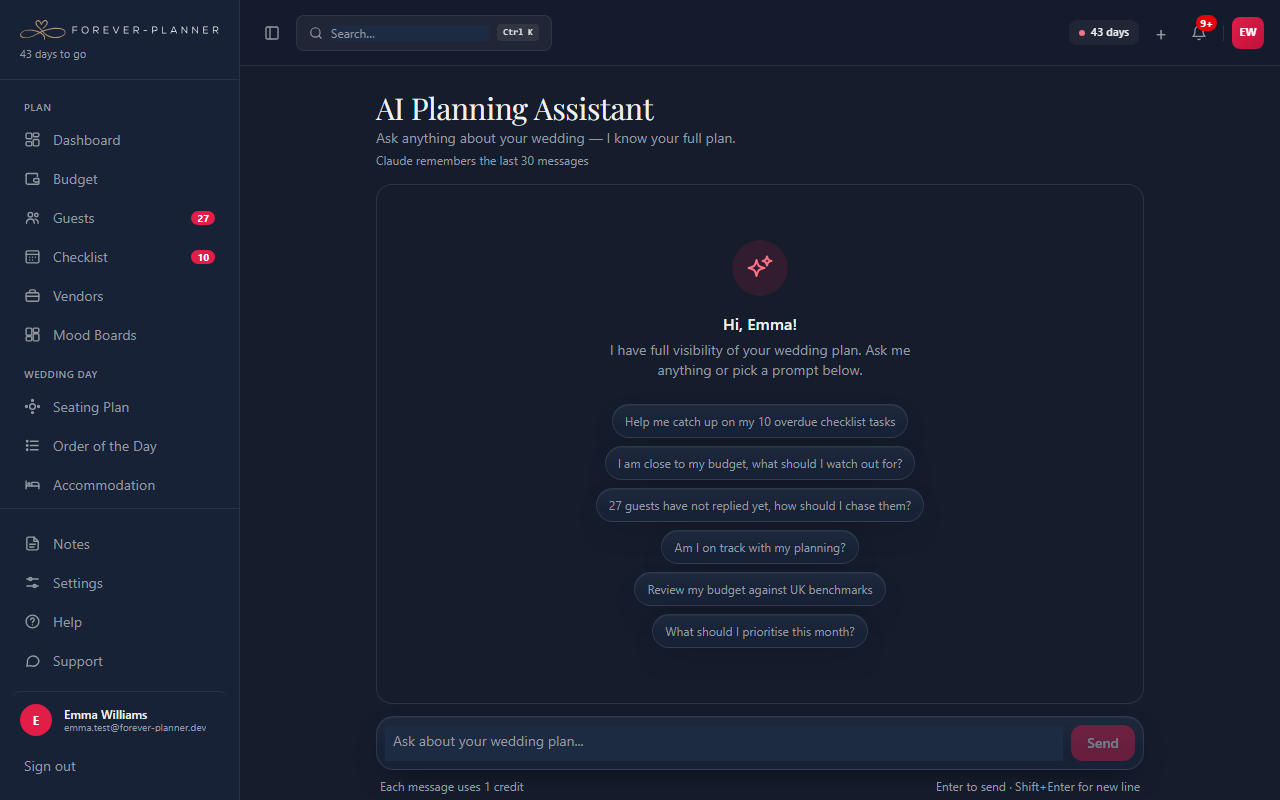
AI assistant
Planning advice, drafts and checks that already know your wedding.
- 1
Ask anything
The assistant knows your wedding details, budget plan, upcoming payments and how many guests have replied, so answers fit your plans. Suggested questions to start with are shown.
- 2
Add what it suggests
When it suggests a task or a note, add it with one click. Nothing is saved until you do.
- 3
Your conversation is kept
Your recent conversation is saved and shared with your partner. Copy any reply, try again, or clear the chat.
- 4
Credits
Each AI feature uses a set number of credits; a chat message uses 1. Essential includes 200 credits a month and Premium 600, and you can buy top-ups. No account can use more than 200 credits a day. If a request fails, its credits are given back.
Paid plans
The AI assistant is on Essential and Premium.
Note
Use the answers as a starting point and apply your own judgement, especially on legal or money matters.
Notes
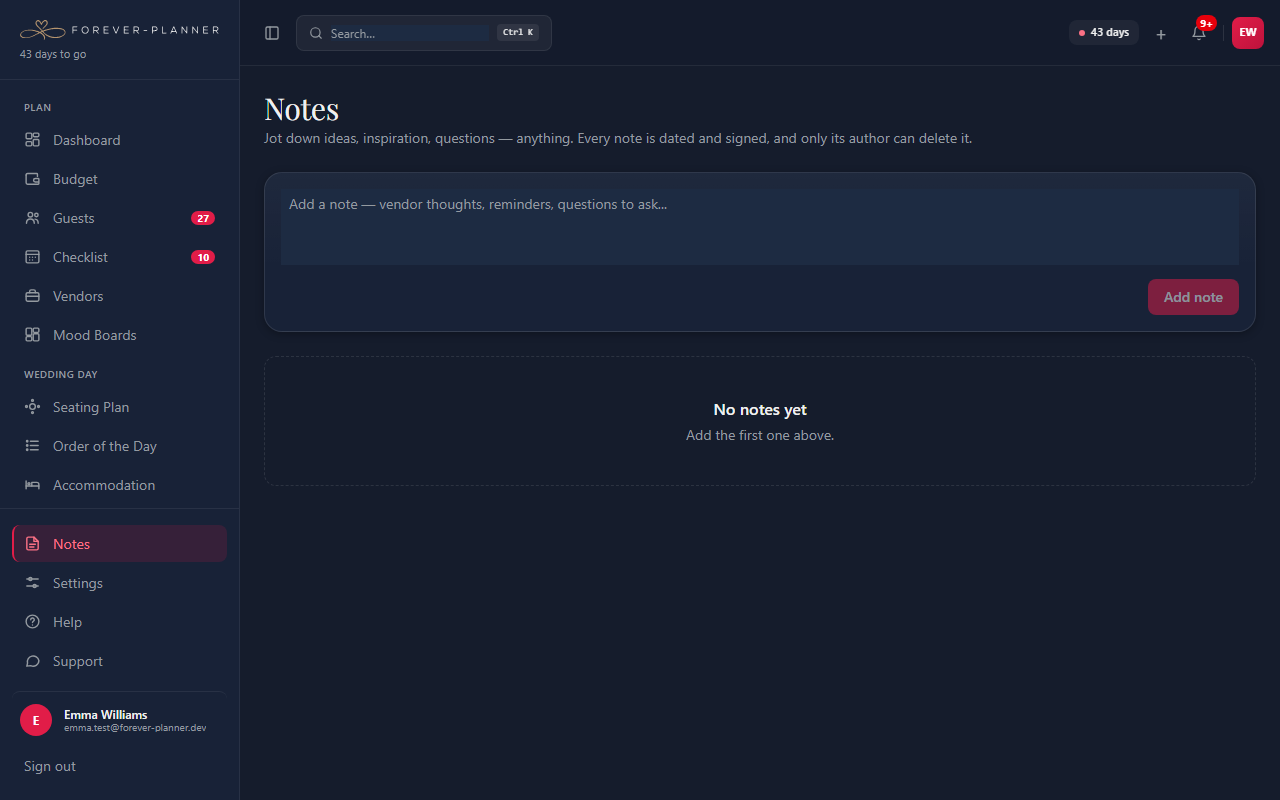
Shared notes for the two of you.
- 1
Add a note
Each note is saved with who wrote it and when. The latest five also show on your dashboard.
- 2
Delete a note
You can delete notes you wrote.
Account & settings
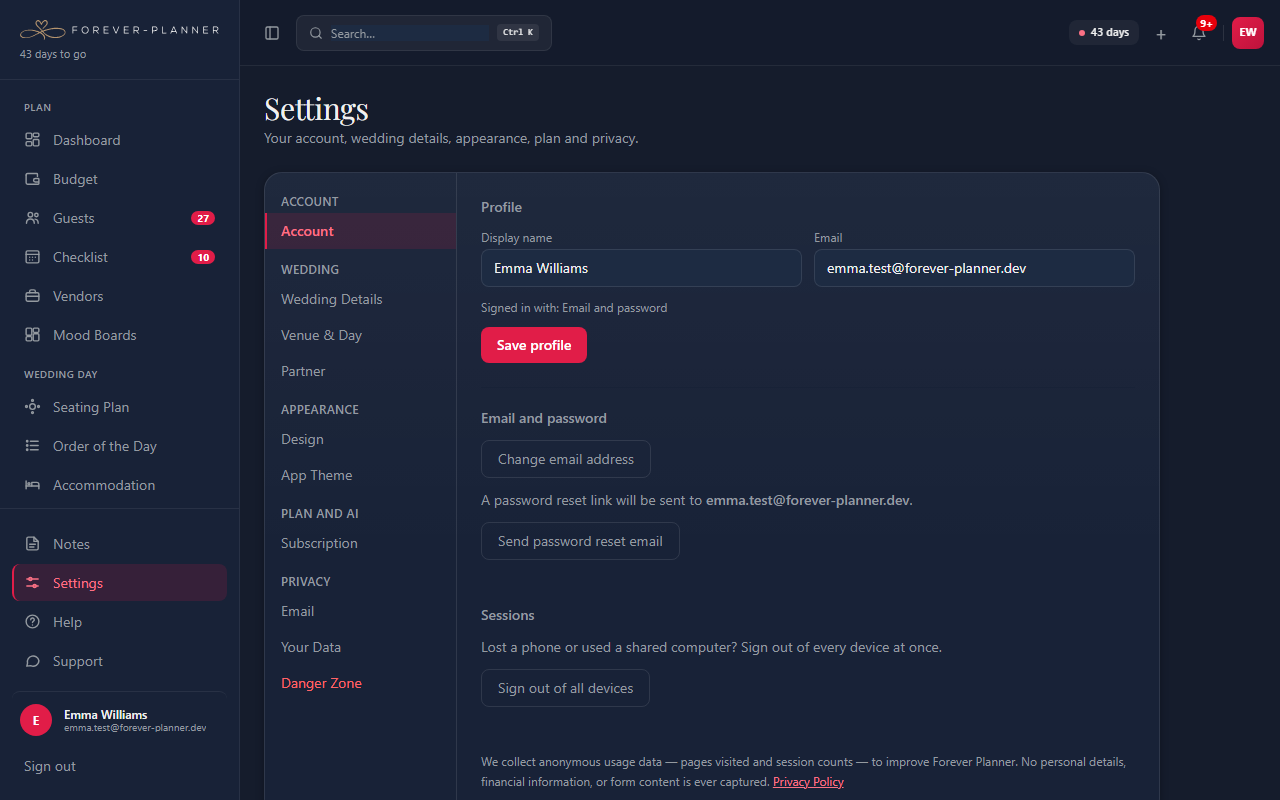
Your wedding details, partner, design, plan, emails and data.
- 1
Wedding and venue details
Your names, date, where you are marrying, RSVP deadline, venue and times. Changes flow to your RSVP page and website.
- 2
Partner
See who is on the plan and copy the invite link while a partner has not joined yet.
- 3
Design and app theme
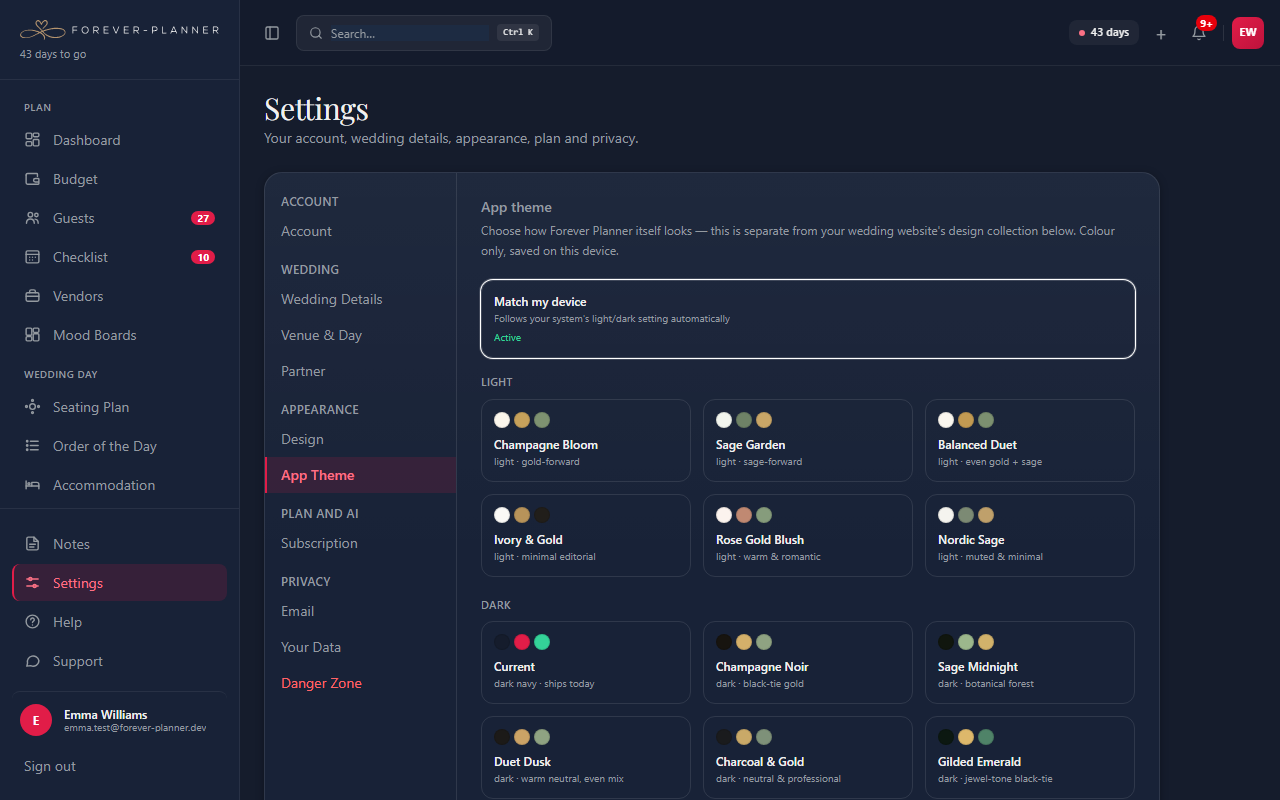
Design sets the collection for your website, RSVP page and guest emails. App theme sets how the app itself looks: 12 themes, light and dark, or follow your device. The app theme is saved on each device.
- 4
Subscription and AI credits
Change or manage your plan, see when it renews, buy top-up credits, and see AI credit use by feature and by person.
- 5
Email preferences
Each of you chooses whether to get the monthly digest and RSVP notification emails.
- 6
Your account and data
Change your email address, sign out of all devices, and download a full copy of your data as a web page (HTML file). Deleting your account removes only you if your partner is still on the plan.
Can't find what you're looking for?
We're a small team and we actually read every message. Drop us a line.
Get in touch →